
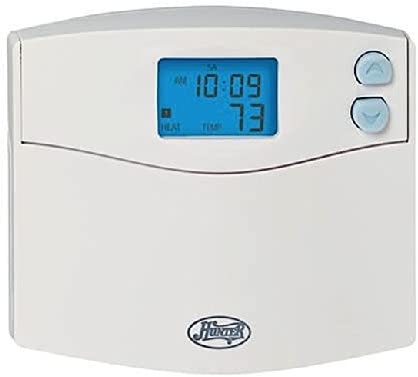
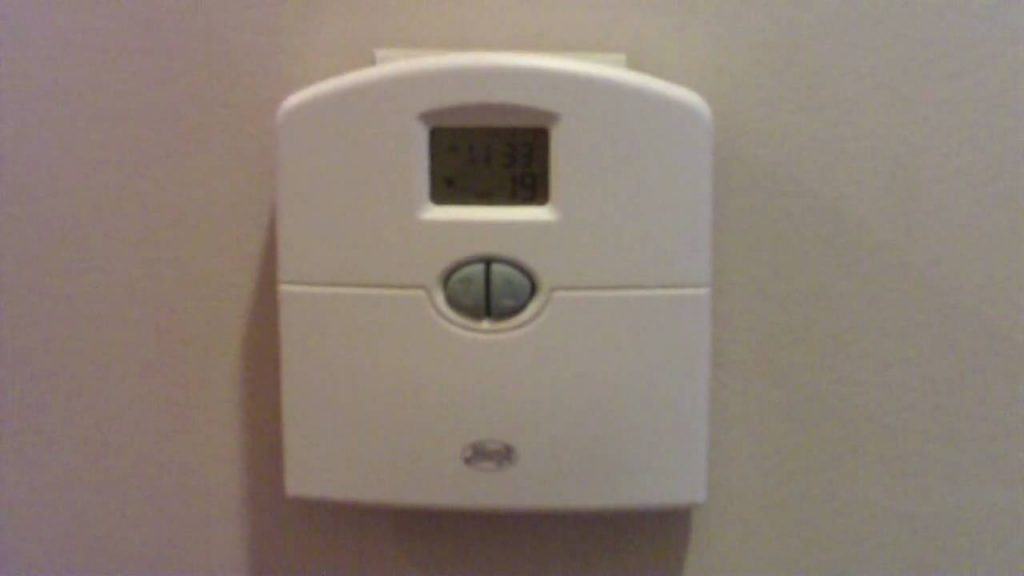
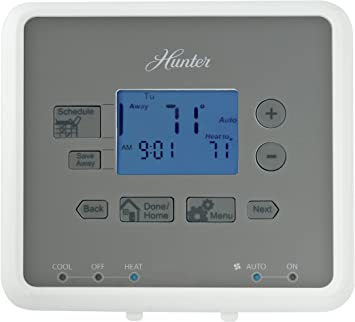
A hunter thermostat is also known as a safe programmable thermostat used in various systems such as electric air conditioning systems and pilot gas heating systems. The thermostat is essential since it enables the homeowners to control temperatures to suit one’s preference. Also, the thermostat allows one to save money on heating and cooling expenses.
The thermostat is less expensive compared to other thermostats, such as a smart digital thermostat. Programming the hunter thermostat is easy as long you follow the recommended programming steps. The article describes the various steps on how to program the hunter thermostat.
Steps on how to program the hunter thermostat
The steps of programming a hunter thermostat vary from one thermostat to another. For instance, older hunter thermostats have different programming steps when compared to the digital hunter thermostat. The programming process takes less time, approximately five to ten minutes, and is easy to follow.
The following steps describe how to program the hunter thermostat.
Step 1: Adjust the thermometer time and date

Before programming the thermostat, check the time and date readings and set them using the following steps.
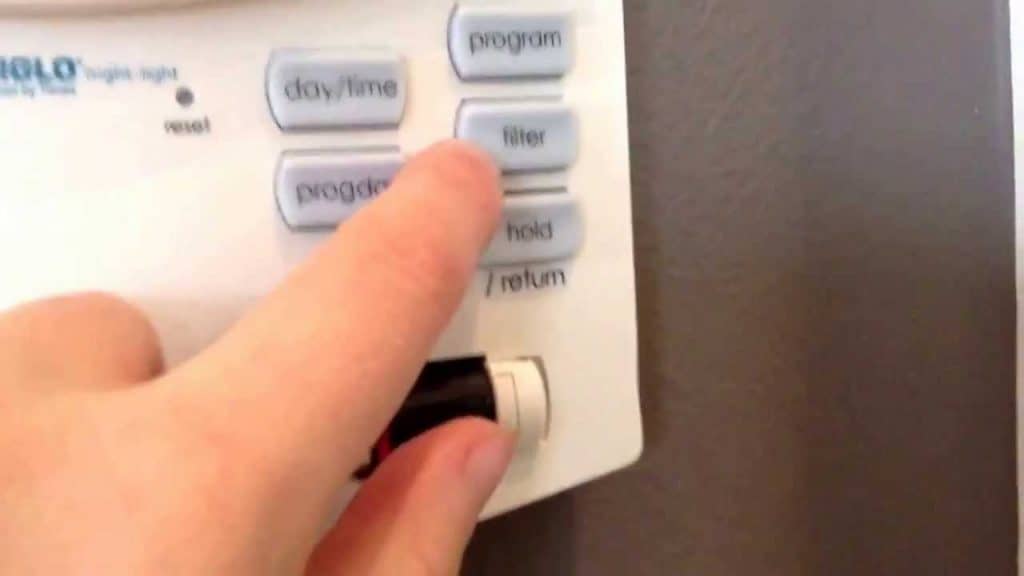
1. Locate the day and time button. Press the TIME and DAY button gently and wait for the flashing of the hour to appear on the thermometer screen.
2. Using the UP and DOWN arrow keys, adjust the time until the thermometer screen displays the correct hour time.
3. Lock the hour by pressing the DAY/TIME button. Proceed to adjust the minute settings. Press the DAY/TIME button again until minutes display on the screen and must be flashing. If it is not flashing, it is an indication that the thermostat buttons are faulty or the screen is defective and requires some fixation.
4. Using the UP/DOWN arrow key, adjust the minutes until you get accurate minute readings.
5. Lock the minute settings by pressing the DAY/TIME. After locking the minute settings, move the display to the flashing day of the week.
6. Adjust the day of the week setting by moving the UP/DOWN arrow key. Set the day of the week to the correct settings.
7. Lock the adjusted day of the week by pressing the DAY/TIME button. Return to the menu display after successfully adjusting the date, day, and time of the week.
Step 2: program the HEAT system setting
To program the HEAT system settings, follow the steps below.
1. Locate the system switch and gently slide the switch button to the HEAT system.
2. Set the time and temperature of the thermostat by pressing the PROGRAM settings. Ensure the temperature adjustment suits your preferences; for example, set “waking” uptime. While selecting the time and temperature, the hour display must flash on the screen.
3. Adjust the hour that suits your preference by using the UP/DOWN key to set the time when the first program will start. Ensure you select the correct time by checking the AM-PM display.
4. Repeat the process above by pressing the PROGRAM key to lock the adjusted hour and activate the minute settings.
5. Adjust the minute settings and set the correct time when the first program begins using the UP/DOWN arrow keys.
6. Lock the minute settings by pressing the PROGRAM key again.
7. Adjust the temperature of the thermostat by pressing the PROGRAM key again. When pressing the temperature settings, the flashing must appear unless the hunter thermostat is faulty.
8. Using the UP/DOWN arrow keys, set the correct temperature that suits your all-day schedule preference.
9. Set the temperature when you are not in the house by pressing the PROGRAM key and clicking the “away” time.
10. Redo the process above several times from the first program to the last program according to your schedule.
Step 3: Setting COOL settings
Setting COOL settings has steps almost similar to the HEAT settings and only require slight adjustments when selecting the temperature.
- Locate the system switch and slide the SYSTEM SWITCH button the COOL setting
- Redo the process in HEAT settings in step 2 above and regulate the temperature to suit your preference. Ensure you set the correct time by paying attention to the AM-PM display time.
Step 4: Retract the thermostat program
If you want to reprogram the house temperature, follow the following steps.
1. Gently press the UP/DOWN arrow keys and hold one of them until the thermostat display flashes.
2. Select the temperature that suits your preference and set it using the arrow keys.
3. Cancel the overriding process by pressing the HOLD/RETURN button and hold one of them for a couple of seconds. After canceling the overriding, the current program number flashing on the screen as a sign that it is being overridden temporarily.
4. Press the HOLD/RETURN button again after successfully overriding the program to return to normal following the set programming.
While pressing the buttons, ensure you handle them with a lot of care to avoid damaging the buttons. Also, follow the manufacturer’s instructions on how to control the hunter thermostat.
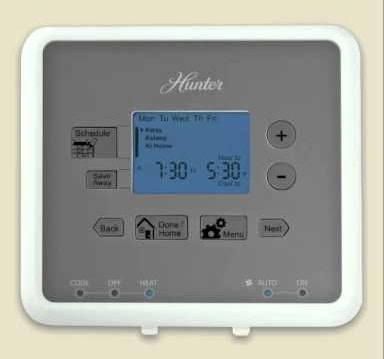
Step 5: Steps of programming thermostat touchscreen
The process of programming the thermostat touchscreen is easy. The following steps describe how to program a hunter thermostat touchscreen;
1. Firstly, locate any blank space from the thermostat’s touch screen and touch it.
2. From the display on the screen, touch the SELECT FUNCTION “button” on the touch screen.
3. Click the PROG button that displays on the screen after selecting the function electronic “button”.
4. Repeat the process of clicking the PROG button until the SELECT ICON TO PROGRAM displays.
5. Choose the day to start your program by touching the button displayed on the screen.
6. Set the day setting according to your preference by clicking on the PERIOD icon.
7. Choose the HEAT and COOL settings that match your preference.
8. Start setting the time when the program starts by touching the TIME display.
9. Adjust the programs by moving the arrow keys either UP or Down, depending on one’s preference.
10. Activate the temperature settings using the TEMP settings for a certain period.
11. Lock the set programs using the PROG setting.
12. Repeat the process to set multiple programs in the hunter thermostat that suits your desires. Ensure you set different temperatures for each program and lock them using the PROG settings.
Conclusion
Hunter thermostats are essential in our day-to-day activities in the house in that they allow one program temperature to suit one’s preference. If you want to program your hunter thermostat, follow the steps above to program the thermostat successfully.
Finally, ensure you follow the manufacturer’s instructions when handling the hunter thermostat. Also, service the thermostat regularly to improve its efficiency and functioning.
Ready to start saving money and energy without sacrificing comfort? This quick-start programming guide will walk you through step-by-step instructions to program your new Hunter 5 Minute Thermostat.